Getting Started Guide
Tableau Webhooks
Introduction
Tableau Webhooks let you build custom applications or workflows that react to events that happen in Tableau. For example, you can use Tableau Webhooks to send a text message or Slack notification any time a data source refresh fails, or when a new workbook is created.
This tutorial can help you get started and understand how to work with Tableau Webhooks.
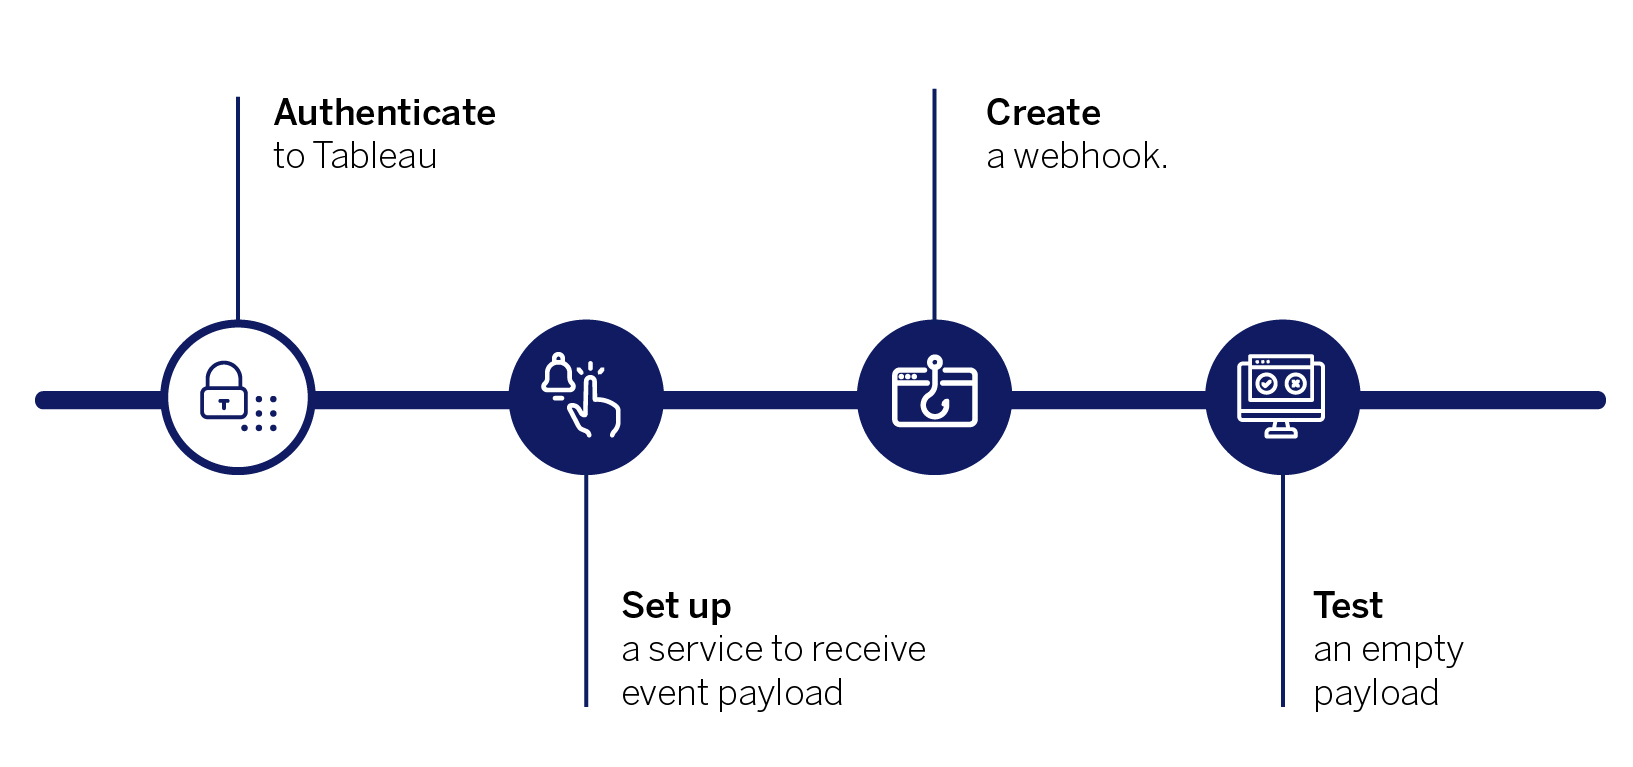
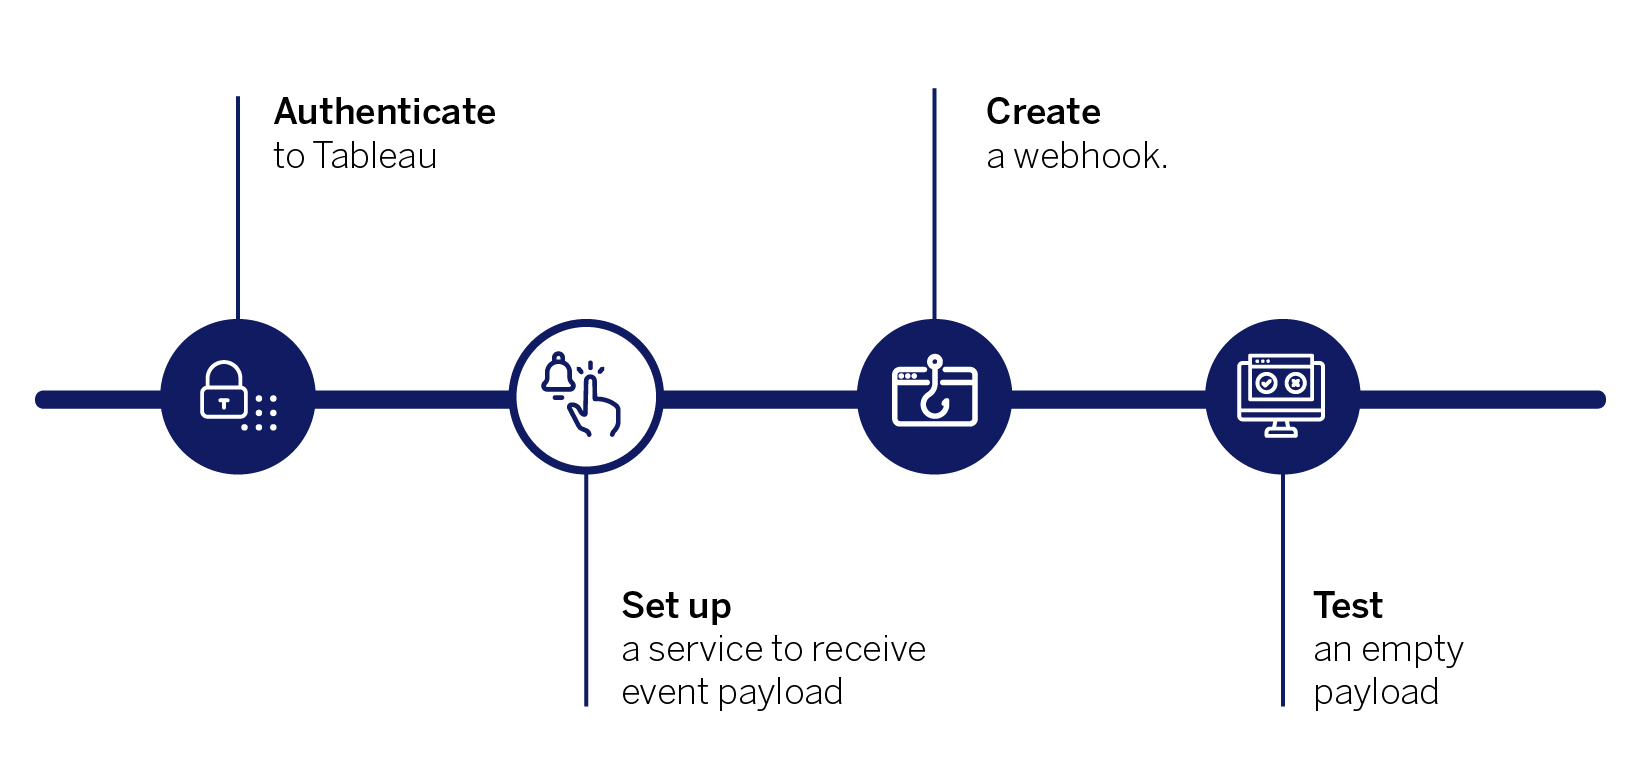
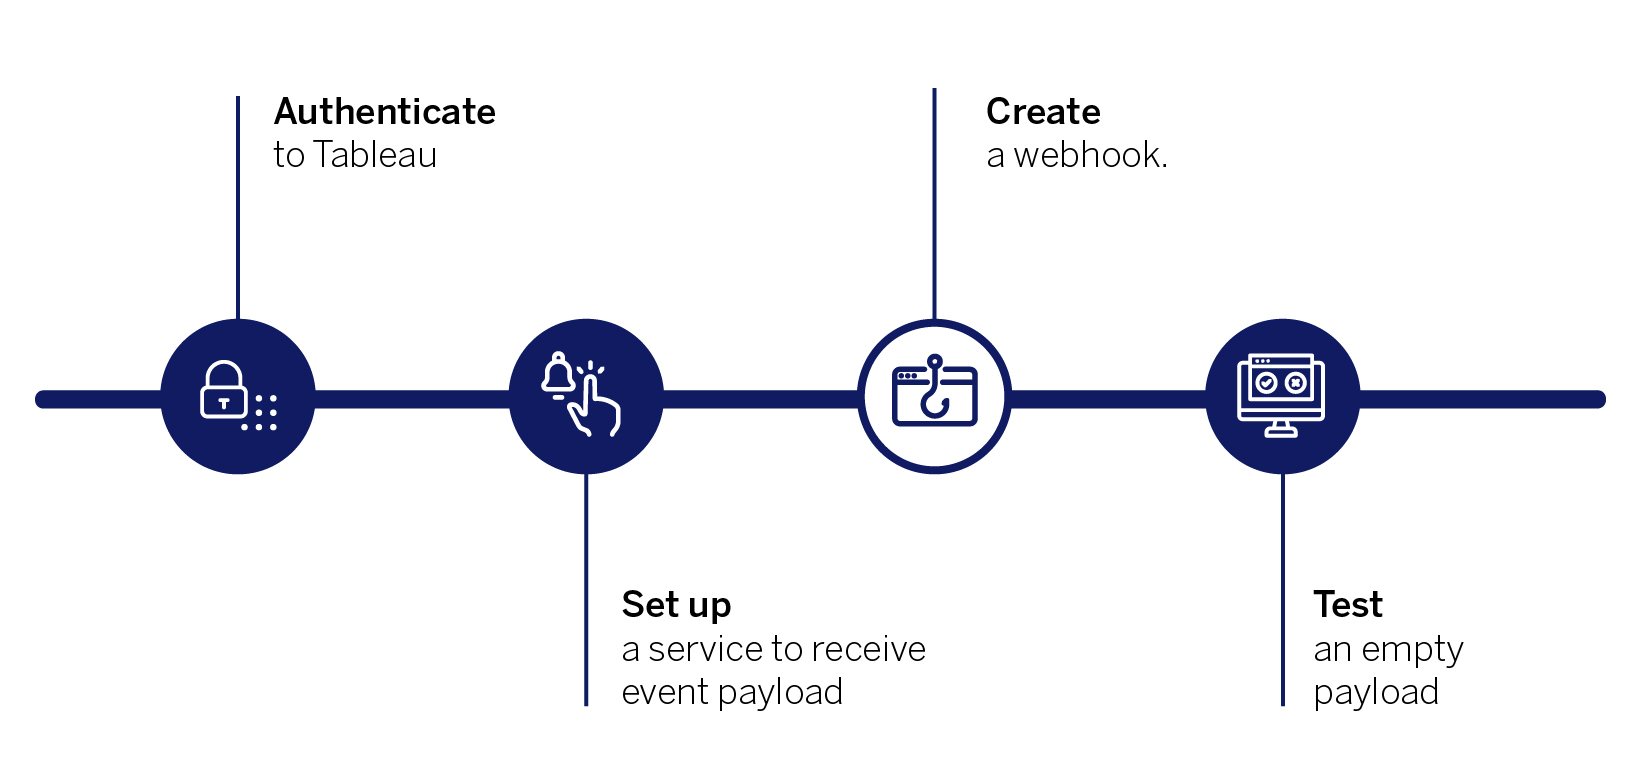
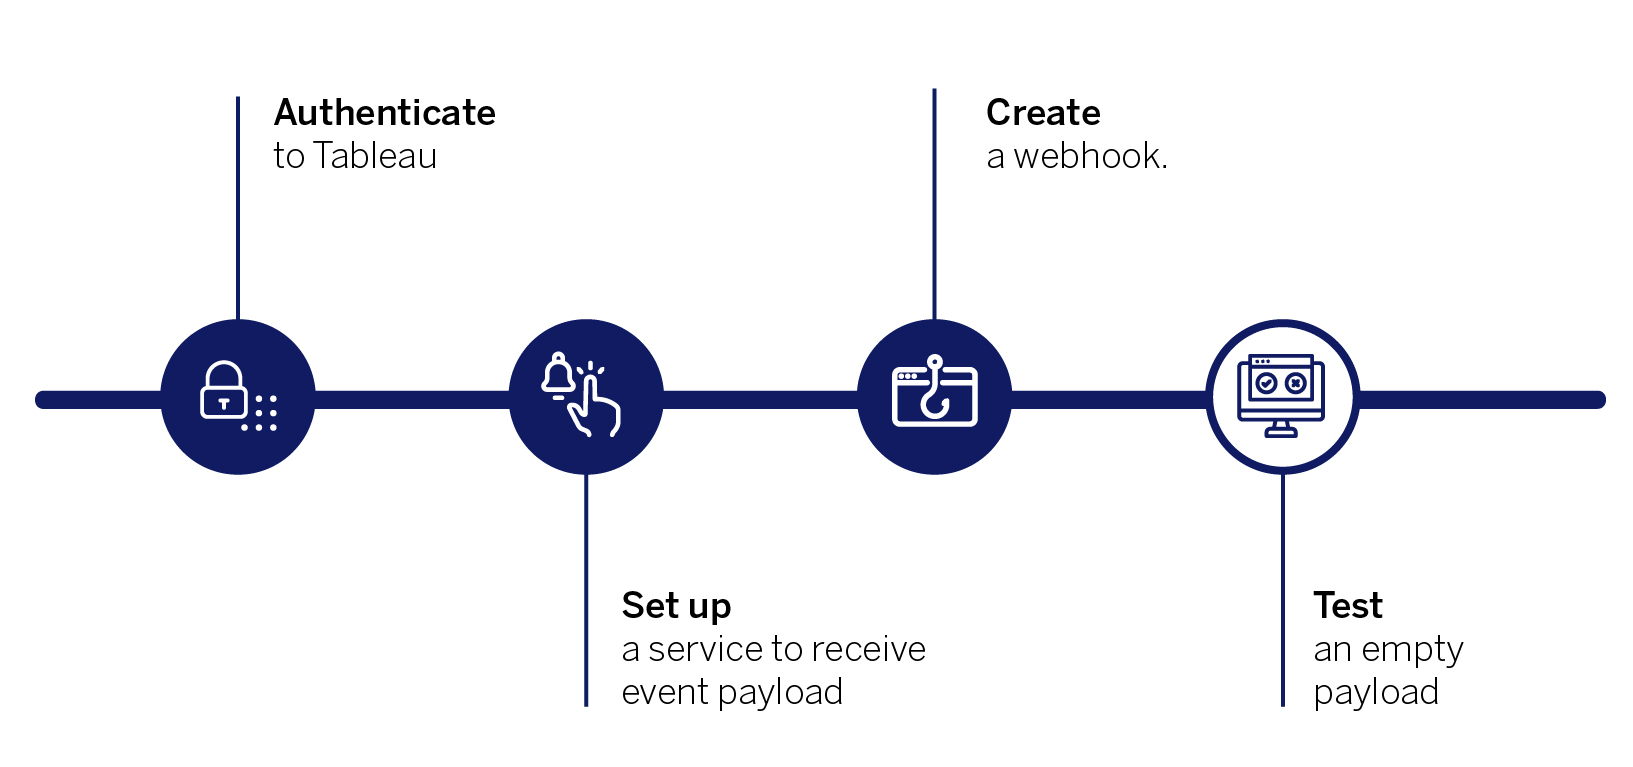
- Authenticate to Tableau
- Set up a service to receive event payload
- Create a webhook
- Test an empty payload
To use Tableau Webhooks, you must be authenticated as a site administrator for Tableau Online or as a server or site administrator for Tableau Server.
You can set up your own Tableau Online instance at no cost by joining the Tableau Developer Program.
There are two ways to authenticate to Tableau Online or Tableau Server:
- Using a personal access token: This is the recommended method of authenticating to Tableau Online and Tableau Server. See the personal access token section in the Tableau REST API article for instructions on how to sign in using a personal access token.
- Using a username and password: See the username and password section of the REST API article for instructions on how to sign in using a username and password.
You will need to set up a service to receive the payload from Tableau so you can take the appropriate action on it. Depending on your requirements, the service receiving the notification can be Slack, Jira, or your custom application.
Protip: We recommend that you use the https://webhook.site/ website to receive the event payload if this is your first time testing or learning about webhooks. There is no setup required to use this site, so it is easy to use for learning and testing purposes. This site auto-generated unique URLs for you to use. Use the unique URL generated by this site as your destination URL when you create the webhook.
You configure each webhook to subscribe to an event in Tableau. Then, when the event occurs, a notification will be sent to the destination URL. This notification includes information about the event.
Below is an example of a request body to create a workbook.
- If you are using the https://webhook.site/ website to receive the response, use the unique URL as your destination URL in the webhook request body.
- The api-event-name must be one of the supported events.
Some common example events are:
- To get notified when a data source refresh fails, use DatasourceRefreshFailed as the event name
- To get notified when a workbook gets created or published, use WorkbookCreated as the event name.
For a full list of all the supported events, see the events and payload article of the Tableau webhooks guide.
Here is a generalized example of the request body you will need to create a webhook.
<tsRequest>

  <webhook name="my_first_webhook"

    event="Event Name" >

   <webhook-destination>

     <webhook-destination-http method="POST" url="<URL>" />

   </webhook-destination>

  </webhook>

</tsRequest>
Protip: You can use Postman, which is a free tool to set up a webhook. Here are some Postman collections you can use as a template and modify to your environment:
Before building a full workflow, verify that the webhook is working correctly. You can initially test using an empty payload using the Test a Webhook REST API method.
You can do an actual test by creating the matching event that you created the webhook for in step 2. For example, if you created a webhook for the WorkbookCreated event, upload a workbook file to your site, and you should see a payload with the event details in your destination site set up to receive the notifications.
Protip: If you are using the Webhook.site for testing, you should see the event information, including the event, the LUID of the workbook, and the workbook’s name.
Related Resources
Ultimo aggiornamento: 14 Settembre, 2021