Embedding API - Web Authoring Tutorial

Goals
More and more companies want to deliver self service analytics in their application and Tableau made it even easier for them with the new Embedding API V3. Version 3 includes a new type of web component, <tableau-authoring-viz>
Background and Requirements
In order to complete this tutorial, you will need the following:
- Either Tableau Server (version 2022.2+) or Tableau Cloud
- If you don’t have a Tableau Server to develop against, you can always join the Tableau Developer Program, which gives you access to a free Tableau Cloud instance for use in development
- Python 3 - used to start a simple web server, install using this help doc.
- Create A Simple Web App
- Embed A Tableau Viz In View-only Mode
- Toggle Between View-only And Web-authoring
The first step is to create a basic web app. For this tutorial, we’ll start by creating a simple HTML file named index.html
This is pretty much a copy/paste from Bootstrap’s starter template. If you’ve never used Bootstrap before, it’s just a front-end toolkit for making your web apps look consistent. So far, this is just an empty webpage but we can make sure it’s working by starting a web server. Since we have python installed, you can just run the following command:
This will start a basic web server in the current working directory (which should contain our index.html file). You can access this web page by pointing your web browser to http://localhost:8000. It should just be a blank white page, so let’s start by adding an embedded tableau viz.
Tableau’s Embedding API is JavaScript based, so lets start by creating a new JavaScript file named main.js with the following contents:
// Import the components we need from the Tableau Embedding API
import {
TableauViz,
TableauAuthoringViz,
TableauEventType,
} from 'https://10ax.online.tableau.com/javascripts/api/tableau.embedding.3.2.0.js';
// Define an object to define our dashboard list and help us track the web app's state
let details = {
dashboards: [
{
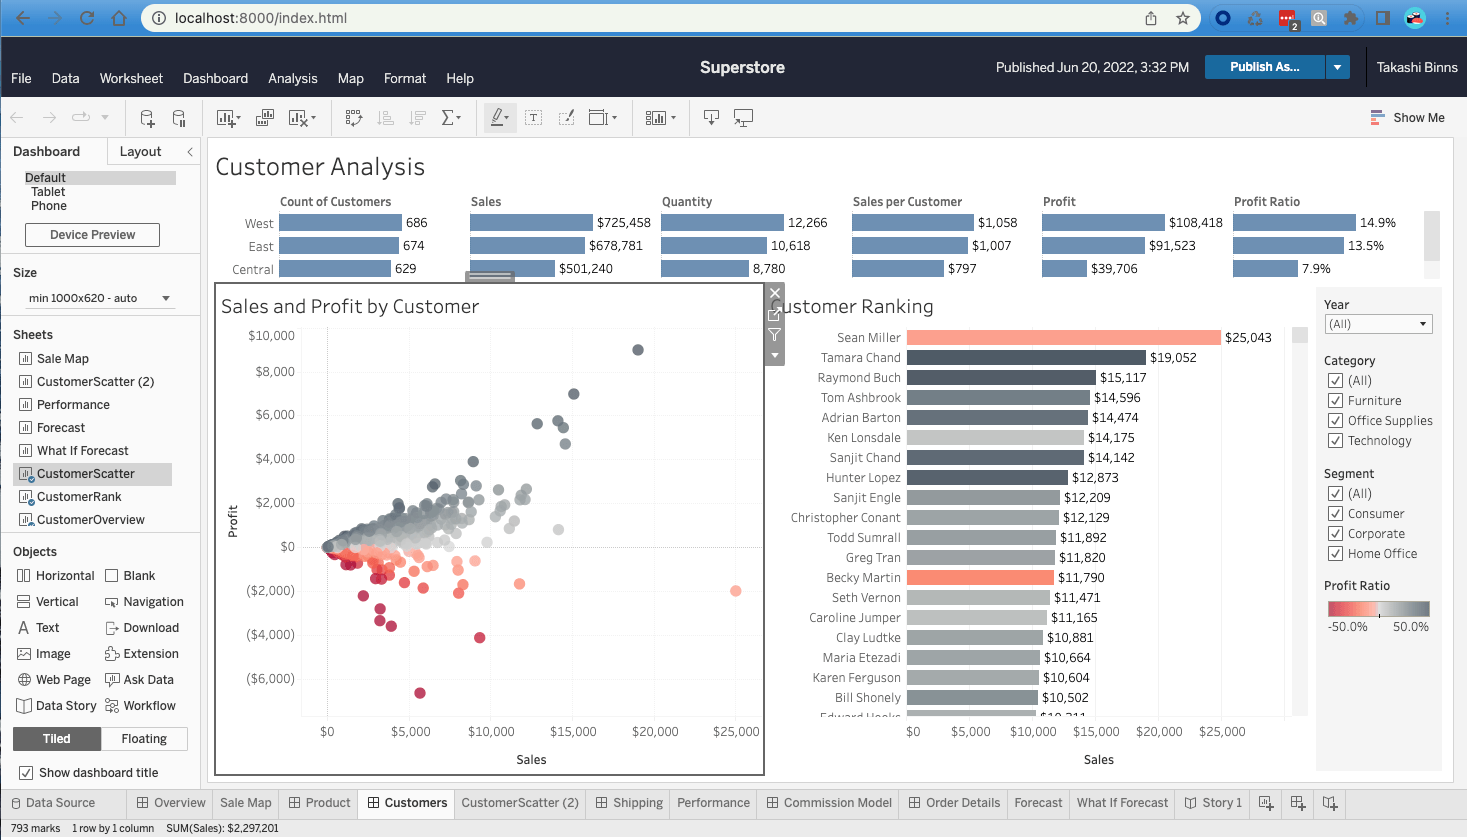
title: 'Customer Analysis',
url: 'https://10ax.online.tableau.com/#/site/datadevday/views/Superstore/Customers'
},
{
title: 'Product Drilldown',
url: 'https://10ax.online.tableau.com/#/site/datadevday/views/Superstore/Product'
},
{
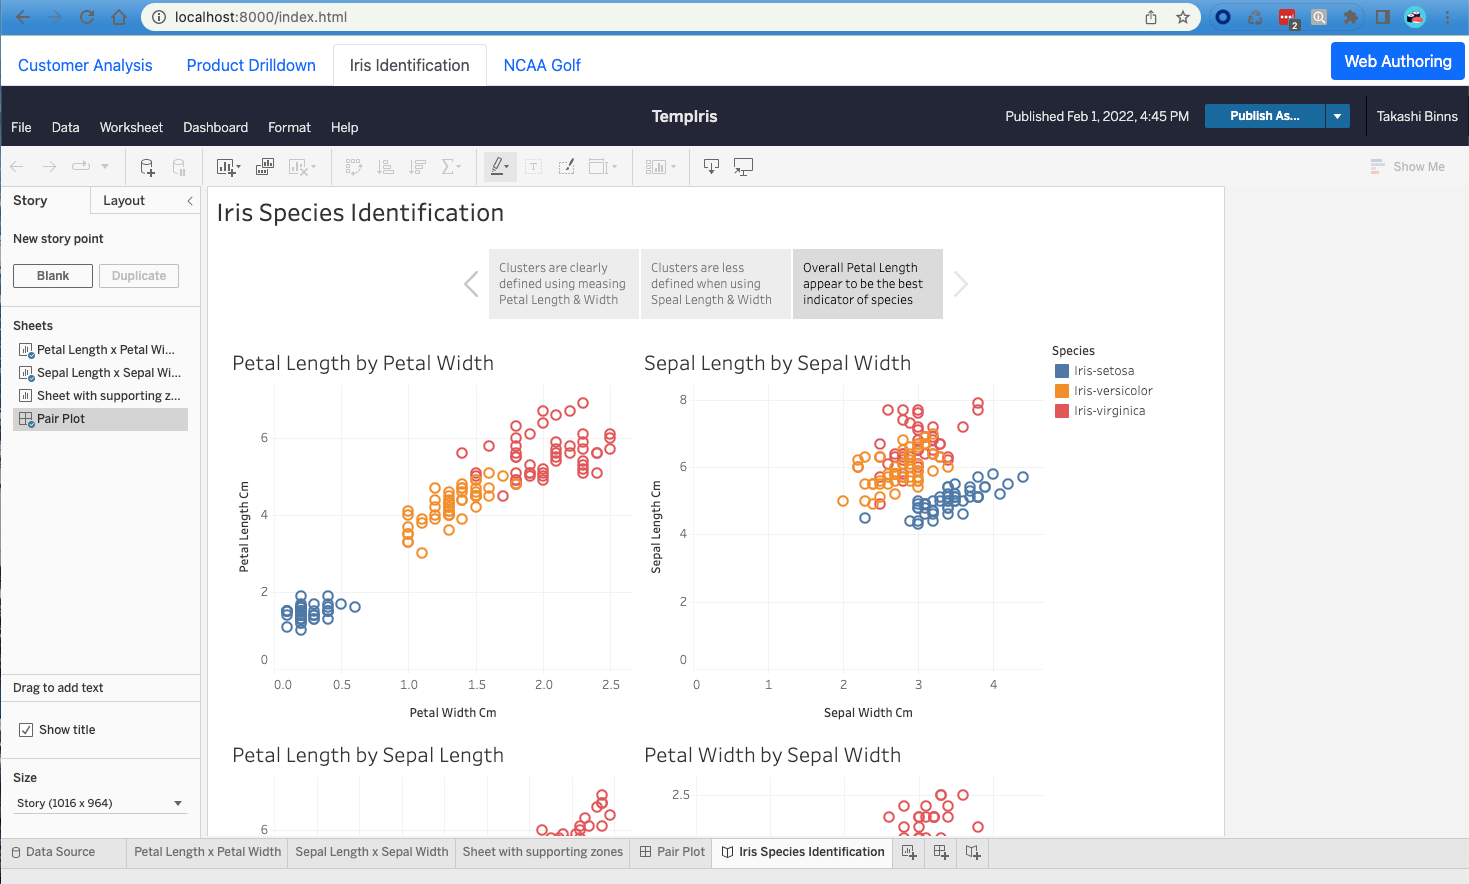
title: 'Iris Identification',
url: 'https://10ax.online.tableau.com/#/site/datadevday/views/TempIris/IrisSpeciesIdentification'
},
{
title: 'NCAA Golf',
url: 'https://10ax.online.tableau.com/#/site/datadevday/views/2019NCAAD1MensGolfChampionshipbyChrisDeMartinitableauonlineconverted/NCAAD1MensChampionship'
},
],
currentDashboardIndex: 0,
isAuthoringMode: true,
divId: 'tableauViz'
}
The first section is how we make a reference to the Tableau Embedding API, and import the TableauViz and TableauAuthoringViz modules. There are other types of modules, but these should be sufficient for this exercise.
The second section defines the settings of this web app, which includes a list of dashboards, a variable for saving the currently selected dashboard, whether or not we are using web-authoring, as well as the div container we will embed into.
Note: you will need to update the Tableau links to point to your own Tableau Server (2022.2+) or Tableau Cloud.
Next, we need to add a function that will actually render our Viz.
// Function for rendering a tableau viz
function renderViz() {

   // Which Tableau dashboard/viz do we display?
   const dashboard = details.dashboards[details.currentDashboardIndex];

   // Make sure the div container is empty
   let tableauContainer = document.getElementById(details.divId)
   tableauContainer.replaceChildren();

// Render in web authoring mode or view only?
let viz;
if (details.isAuthoringMode) {
   // Create a new tableau authoring viz object
   viz = new TableauAuthoringViz();
   viz.src = dashboard.url;
   viz.hideCloseButton = true;
} else {
   // Create a new tableau viz object
   viz = new TableauViz();
   viz.src = dashboard.url;
   viz.toolbar = 'hidden';
}

// Append the viz to the div container
tableauContainer.appendChild(viz);
}
This function has 3 steps:
1. Clear any existing embedded Vizzes
2. Create a new TableauAuthoringViz or TableauViz (depending on details.isAuthoringMode)
3. Append the Viz into our <div> container
Let’s also create another method named init, which should run when the webpage runs.
// Function to setup the tab navigation bar
function init() {

/************************/
/* Default Viz */
/************************/

renderViz();
}

init();
We’ll add more to this init() function later, but all we need now is to call the renderViz() function.
Now in order to see this in our web app, we’ll need to add a reference in index.html to our main.js as well as create a div container where the Viz will be embedded. Insert the below snippet into index.html’s <body> section
<!-- Tableau Viz -->
<div id="tableauViz"></div>
<script src="main.js" type="module"></script>
If you refresh your web browser, you should now see a tableau dashboard embedded.
Our renderViz() function already has the logic for whether to show the web authoring mode or a view-only Viz, so we just need to create some UI elements to allow the user to control this. Within index.html add the following snippet above the Tableau Viz section of the <body>.
<!-- Navigation Header -->
<div id="header">
   <ul id="nav" class="nav nav-tabs"></ul>
   <button id="webAuthoringToggle" type="button" class="btn btn-primary btn-sm">Web Authoring</button>
</div>
This will add a header bar to the top of our web page, including a button for toggling between web authoring and view-only. Usually tableau users would access web authoring for a dashboard through a button on Tableau Server/Cloud, so we want to provide a simple way to achieve the same thing. This button doesn’t do anything yet, so let’s add some more functions to our main.js file.
// Handler for web authoring toggle
function webAuthoringToggle(event) {

   // Toggle the isAuthoringMode boolean
   details.isAuthoringMode = !details.isAuthoringMode;

   // Re-render the viz
   renderViz();

   // Update the button's UI
   renderButton(event.target);
}
// Function to update the display properties of the Web Authoring button
function renderButton(button){
   // Switch the class, based on toggle status
   button.className = details.isAuthoringMode ? 'btn btn-primary' : 'btn btn-outline-primary';
   // Switch the button text, based on toggle status
button.innerText = details.isAuthoringMode ? 'Web Authoring' : 'View Only';
}
The webAuthoringToggle() function runs when a user clicks the button, and it toggles the isAuthoringMode variable then renders the viz and button. The renderButton() function updates the UI of the button, so that it’s label shows ‘Web Authoring’ or ‘View Only’
One scenario we want to handle is how users save their changes during web authoring. Tableau has an auto-save feature that will track changes while in web authoring, so we don’t have to worry about that. However, there is an option to Publish As which will save their work as a brand new workbook. Let’s add a function to handle that use case, and add the event handler to our renderViz() function.
// Handler for when users click Publish As in web authoring
function workbookPublishedAs(event){

    // User is saving the dashboard as a copy of the original, save the new copy's URL
details.dashboards[details.currentDashboardIndex].url = event.detail.newUrl;

   // Switch back to view-only mode
details.isAuthoringMode = false;

   // Re-render the viz, to show it in view-only mode
renderViz()
}

   // Render in web authoring mode or view only?
   let viz;
   if (details.isAuthoringMode) {
      // Create a new tableau authoring viz object
      viz = new TableauAuthoringViz();
      viz.src = dashboard.url;
      viz.hideCloseButton = true;
      viz.addEventListener(TableauEventType.WorkbookPublishedAs, workbookPublishedAs)
   } else {
     // Create a new tableau viz object
     viz = new TableauViz();
     viz.src = dashboard.url;
     viz.toolbar = 'hidden';
}
When this event is triggered, the above workbookPublishedAs function will do the following:
- get the new workbook’s URL from the event, save it to our details.dashboard object
- change from web authoring to view-only mode
- re-render the Tableau Viz, so that we can see these changes
We also need to add some code within our init() function to setup the button.
/*************************/
/* Web Authoring button */
/*************************/
// Get a reference to the web authoring toggle button
let button = document.getElementById('webAuthoringToggle');

// Add click handler
button.addEventListener('click', webAuthoringToggle)
// Update the HTML to show the difference between web authoring and view-only
renderButton(button);
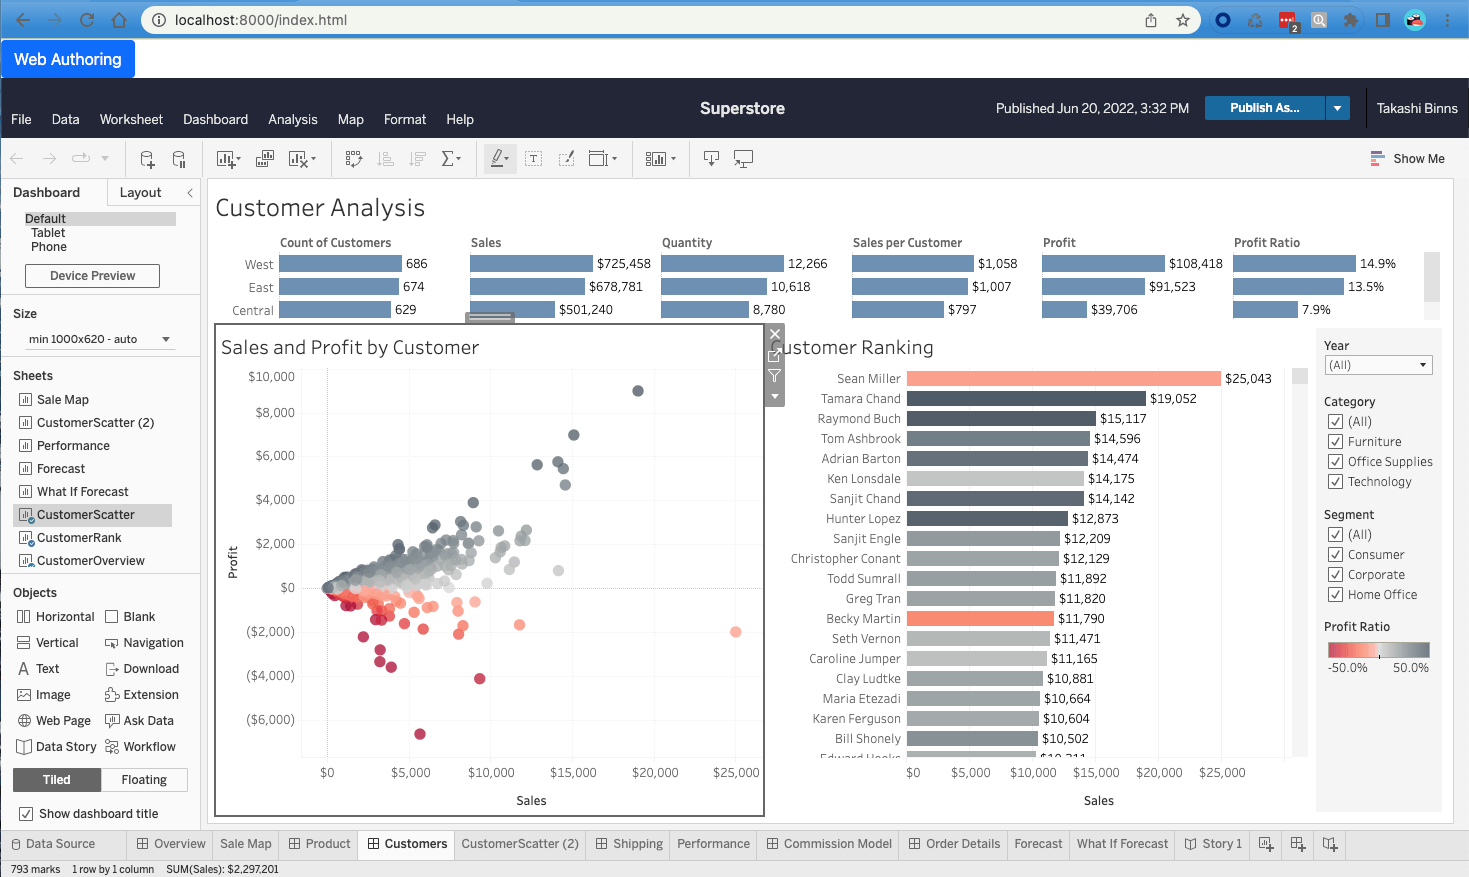
Now if you refresh the web page, you should see the blue button at the top left of the screen. Clicking on this button should reload the Viz, toggling between View Only mode and Web Authoring.
Extras: Dashboard navigation & styling
Usually, the goal is to embed more than just a single dashboard so let’s add on a way for users to switch between several dashboards. We already added a <ul> with id=“nav” in our index.html so we just have to add some more code to main.js to get it up and running.
// Handler for dashboard navigation
function switchDashboard(event) {

  // Determine the index of the selected tab
  const index = parseInt(event.target.attributes.getNamedItem('idx').value);

  // Change the currentDashboardIndex
  details.currentDashboardIndex = index;

  // Re-render the viz
  renderViz();

  // Update the active tab
  document.querySelectorAll("#nav a").forEach( (tab,tabIndex) => {
    tab.className = (tabIndex == index) ? "nav-link active" : "nav-link";
  })
}
This function will run whenever a user selects another dashboard via our tabs. It determines the index of the dashboard (tab the user clicked on), and sets it as the currentDashboardIndex. Since our renderViz() function uses this variable already, we just have to call the function again in order to show a new Viz. The last part of this function just changes the UI to reflect which dashboard is currently visible.
Next, we can add some code to our init() function to setup the tabs
/************************/
/* Navigation Tabs */
/************************/

// Get the nav bar
let navContainer = document.getElementById('nav');

// Loop through each dashboard
details.dashboards.forEach( (dashboard,index) => {
   // Is this the active tab?
   const isActive = (index === details.currentDashboardIndex) ? 'active' : '';

   // Create a tab for this dashboard/viz
   let tab = document.createElement('template');
   tab.innerHTML = `<li class="nav-item"><a class="nav-link ${isActive}" idx="${index}" href="#">${dashboard.title}</a>`

   // Append the tab to the web page
   navContainer.appendChild(tab.content.firstChild);
})

// Add click handlers
document.querySelectorAll("#nav a").forEach( tab => {
  tab.addEventListener('click', event => {
    event.preventDefault();
    switchDashboard(event);
  })
})
This code loops through all the dashboards in details.dashboards and adds a tab for each one. It also adds a click handler, so that when a user clicks on a tab it executes the switchDashboard() function.The last thing we may want to do is add some styling to our web app to make it look cleaner. Add the following snippet under the <head> section of index.html.
<!-- Styling -->
<style>
  #header {
  margin-top: 0.5em;
}
#webAuthoringToggle {
  float: right;
  margin-top: -2.75em;
  margin-right: 0.25em;
};
#tableauViz {
  margin-top: 0.5em;
}
</style>
Now when you refresh your web page, you should see the navigation bar at the top left as well as the blue toggle button on the top right. Clicking on a the navigation bar should switch what Viz is displayed below, and your selection on the toggle button should hold true no matter which dashboard is visible.
Next Steps
This tutorial was meant to show the basics of getting started with the Tableau Embedding API, but this web app could be extended to include additional features.
- Single Sign On - Use connected apps to allow for single sign on between your web app and Tableau
- Fetch dashboards dynamically - Use the Tableau REST API to fetch a list of dashboards the end user is allowed to view/edit
- Export options - Use the Tableau REST API to export the dashboard as PDF, image, csv, ect
All source code for this tutorial can be found in Github
Troubleshooting
Having trouble getting started with Bootstrap? Check out their getting started page for a better sense of how the framework works.
Never used a web server before? We used a simple python web server, since it works on both windows and mac (and linux!). You can learn more about how this works here.
I thought the Tableau Embedding API v3 was based on web components like <tableau-viz> and <tableau-authoring-viz>, but I don’t see that referenced here. This is true! A simple way to embed Tableau Viz is by just adding a <script> tag referencing the Tableau Embedding API and then using our web components directly within HTML. This tutorial chose to use JavaScript to embed the viz, as that let us dynamically choose which web component to use (view-only or web authoring).
Ultimo aggiornamento: 19 Dicembre, 2022